

Part 01
The shell
The navigation rail, the workspace switcher, notifications, and the docking system every analysis screen is built from.
Everything sits inside one frame. A navigation rail runs down the left, the screen you are on fills the middle, and a small set of controls at the foot of the rail follows you everywhere.
The navigation rail
Nine destinations, shown as icons. No two share a glyph, because in a rail without labels the icon is the label. Hovering names the destination.
| Destination | What lives there | Signed out |
|---|---|---|
| Explore | The map, the archive search and the assistant. Where an area is drawn. | Open |
| Analytics | The catalogue of every measurement, by industry and by sensor. | Open |
| Areas | Every boundary you have saved, with its results, trends and composites. | Sign in |
| Results | Every finished analysis, as cards. | Sign in |
| Monitoring | Standing rules that re-run on each pass, and their alert history. | Sign in |
| Order Desk | Buying imagery, either from a commercial archive or as a tasked capture. | Sign in |
| Orders | What you have ordered and where each one has got to. | Sign in |
| Imagery requests | Asking us to source pixels we do not already hold. | Sign in |
| Workflows | Repeatable chains of steps on a canvas. | Sign in |
Explore and Analytics are reachable without an account, so you can look at imagery and at what can be measured before signing up. The rest are hidden while signed out rather than shown and then refused.
Order Desk and Imagery requests do different things
They sit next to each other in the rail and are easy to confuse. An order buys imagery through a supplier we already hold an account with, priced and placed in the app. An imagery request asks us to go and find pixels for you, which we then quote. Part ten covers both.
Workspace, account and theme
The chip at the top of the rail is the workspace. The round avatar at the foot is you. They are deliberately different shapes, because first initials collide often and two identical letters in one column read as the same control drawn twice.
Click the workspace chip to switch workspaces. Everything in the studio is scoped to the workspace you are in: areas, results, monitors, orders, credits and members. Nothing is shared between them.
The moon icon switches between light and dark. It also changes the map. The vector basemap follows the interface theme; satellite imagery does not, because imagery has no light and dark variant, and a dark basemap under a white interface competes with the data drawn on top of it.
Notifications
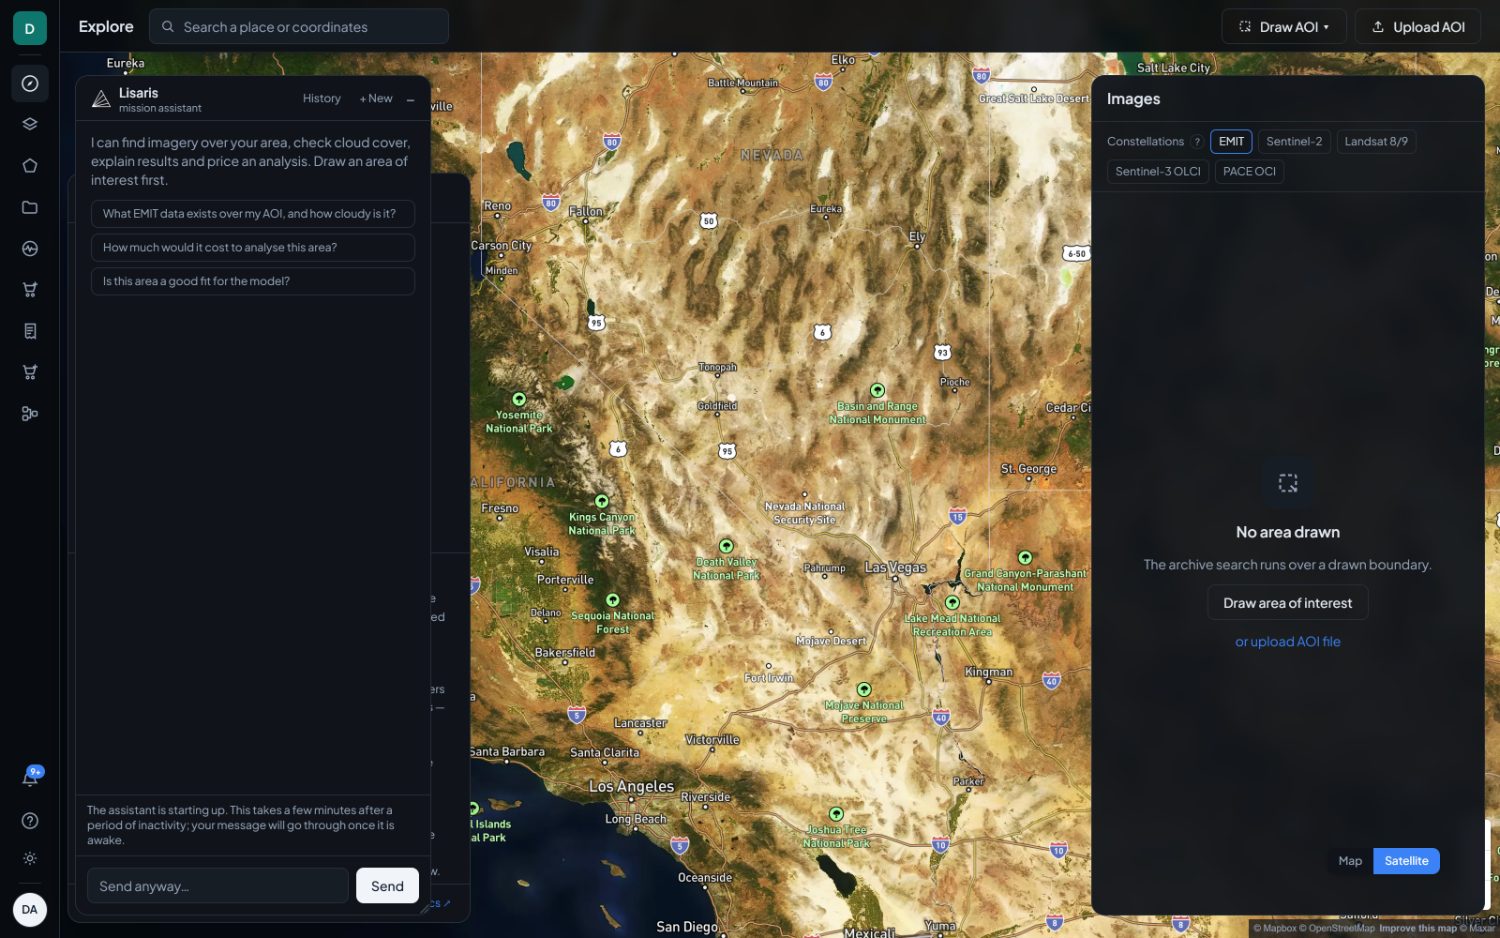
The bell carries a count of unread items. Jobs finishing, monitors triggering, orders changing state and area events all arrive here.
The panel filters by kind, with Unread first and a count beside it. Clicking an item marks it read. Nothing is sent outside the app unless a monitor names recipients, and even then those are workspace members addressed by email.
How it works, and the guided tours
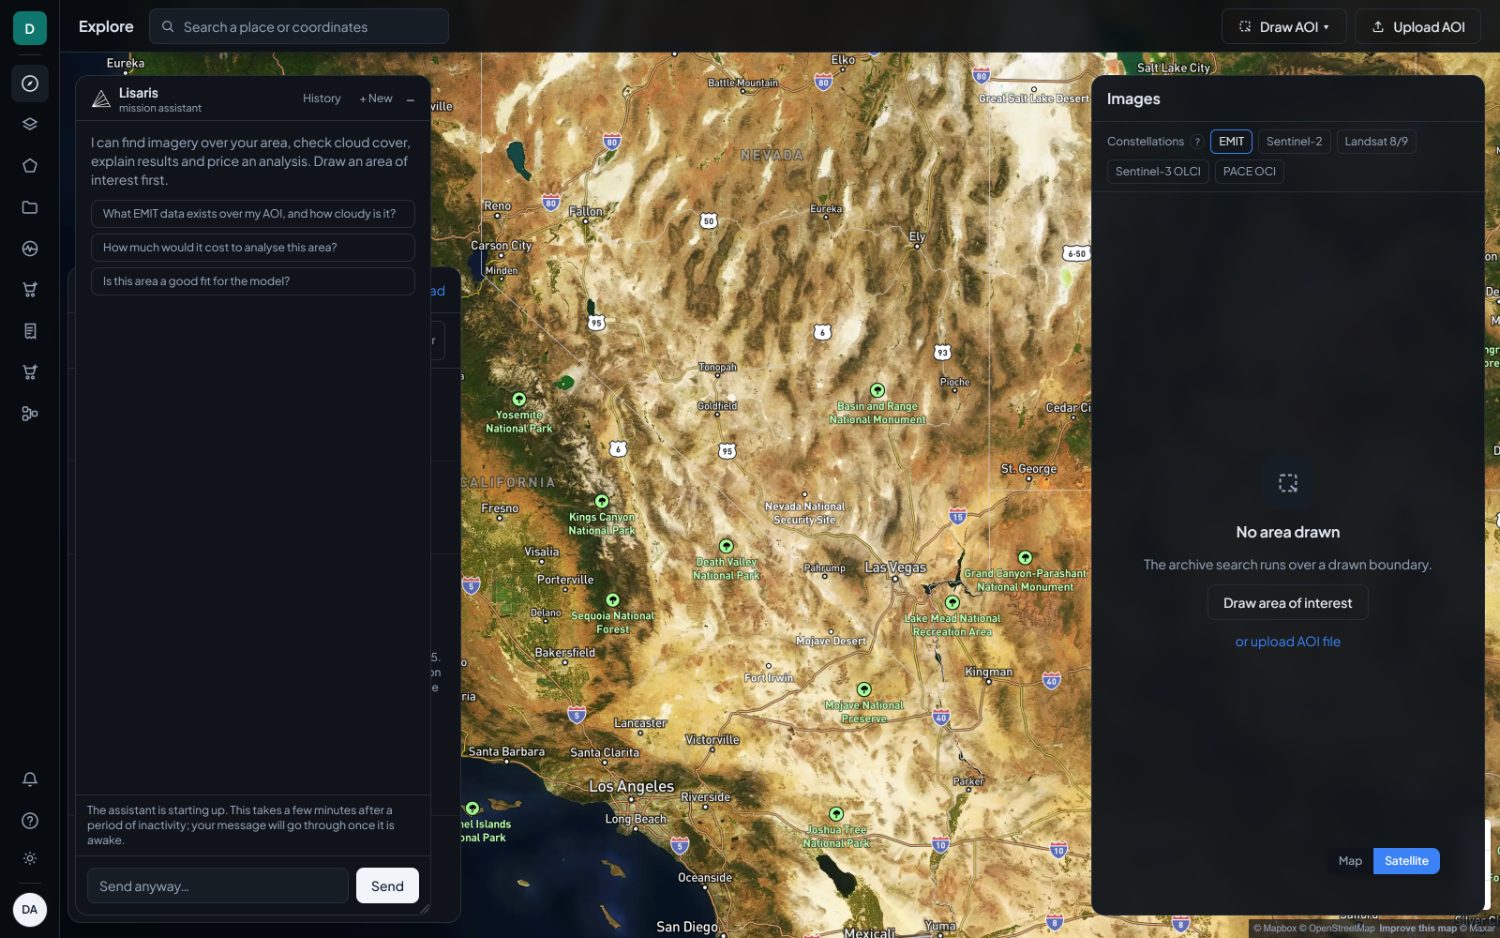
The question mark near the foot of the rail opens How it works: five short entries covering areas, what a plan includes, when the free archives are not enough, where results are saved, and what the validation badges mean.
Above those sits the list of guided tours, ordered so the tour for the screen you are currently on comes first. A tour highlights real controls in place. There are five: Finding imagery, Choosing an analysis, Reading a result, Building a workflow, and Setting up monitoring. Each runs once automatically on the screen it belongs to, and can be replayed from here as often as you like.
Panels, docks and layouts
The result screen and the change screen are built from dockable panels rather than a fixed arrangement. This is worth ten minutes up front. It is the difference between fighting the screen and having it set up for the reading you actually do.
Docked is not floating
A docked panel is laid out, not positioned. The host is a row of left dock, centre column and right dock, and the centre column is top dock, map, bottom dock. Docking a panel therefore makes the map smaller instead of covering it. Occlusion is not something to work around, because in a dock it cannot happen.
Floating is kept for the two panels that genuinely want to sit over the map, the pixel inspectors, because a reading of one pixel belongs beside the pixel it came from. A floating panel is clamped to the canvas and cannot be dragged off screen.
Moving a panel
- Grab the title bar and drag. This is the primary method in both states.
- A floating panel follows the cursor. A docked panel leaves a translucent ghost under the cursor and stays put until you drop it, which is what allows the drag to survive crossing another dock.
- The small buttons in a panel header do the same job without a drag, for anyone who cannot drag or is working from the keyboard.
- Drag the divider between a dock and the map to resize it.
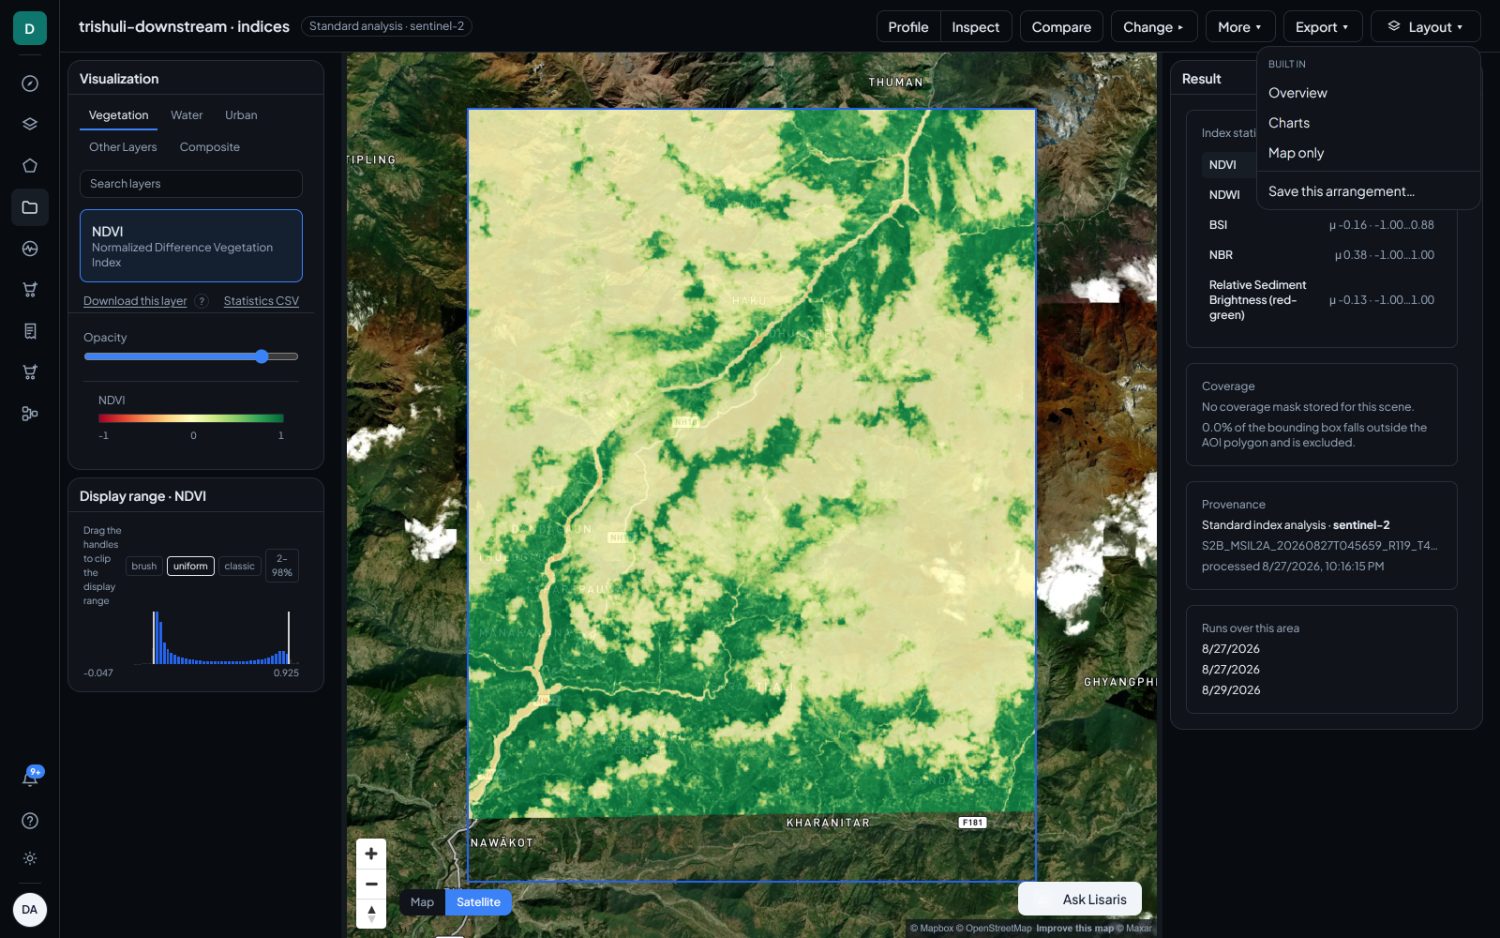
The Layout menu
Top right of the result screen. It holds three groups.
- Built in are the arrangements shipped for this kind of result. Which ones appear depends on what the result is; see Layouts, per product.
- Yours holds anything you have saved, each with a delete control.
- Hidden lists any panel the current arrangement has put away. Clicking one brings it back. This group only appears when there is something in it.
Save this arrangement at the foot stores the current layout under a name. Saving deliberately files every transient panel as hidden, so saving a layout while a pixel inspector happens to be open does not later reopen an inspector with nothing to inspect.
Arrangements are remembered per kind of result, not globally. A water posture and an alteration posture do not overwrite each other, so setting the screen up once for canopy work leaves mineralogy exactly as it was.